Thinking about installing solar panels yourself? Going the DIY route can save you thousands, but only if you have the right tools for DIY solar panel installation. Missing even one essential tool can lead to costly mistakes, safety hazards, or inefficient energy production.
In this guide, we’ll cover the 10 must-have tools you need, their uses, budget vs. premium options, and where to buy them. Whether you’re a beginner or an experienced DIYer, this list will ensure your solar project runs smoothly.
Why Having the Right Tools Matters
Before knowing the list of must-have tools, let’s talk about why having the correct equipment is crucial. Solar panel installation involves working with electrical components, mounting hardware, and wiring. Using improper or subpar tools can lead to:
- Poor connections that reduce system efficiency
- Safety hazards like electrical shocks or fires
- Damage to expensive solar panels or inverters
- Wasted time and frustration during the installation process
Investing in quality tools for DIY solar panel installation ensures your project is safe, efficient, and built to last. Now, let’s discuss the top 10 essential tools every DIY solar installer needs.
10 Essential Tools for DIY Solar Panel Installation
Here’s the complete toolkit you’ll need for a successful installation:
1. MC4 Crimper
The MC4 connector is the industry standard for connecting solar panels. An MC4 crimper ensures secure and weatherproof connections between your panels and wiring. Without it, you risk loose connections that could compromise the entire system.
Why you need it: MC4 connectors are standard in solar panel wiring. A proper crimper ensures secure, weatherproof connections.
Budget option: XY-123 MC4 Crimper (affiliate link)
Premium option: Professional Solar Crimping Tool

Pro Tip: Look for models with ergonomic handles for comfort during extended use.


 Interchangeable Dies for Heat Shrink, Non-Insul...")
2. Multimeter
A multimeter is indispensable for testing voltage, current, and continuity in your solar setup. This tool helps you verify that your panels are generating electricity as expected and troubleshoot any issues.

Why you need it: Measures voltage, current, and resistance to troubleshoot electrical issues.
Best for: Checking panel output and wiring integrity.
Recommended model: Fluke 115 Digital Multimeter
Pro Tip : Choose a digital multimeter with auto-ranging capabilities for ease of use.
3. Solar Wire Cutter
Precision matters when cutting wires for your solar array. A solar wire cutter provides clean cuts, reducing the risk of frayed wires that could cause shorts or poor connections.

Why It’s Essential: Clean cuts prevent wire fraying, ensuring better conductivity.
Tip: Look for UV-resistant cables for outdoor durability.
Pro Tip: Opt for a cutter specifically designed for thicker solar cables.
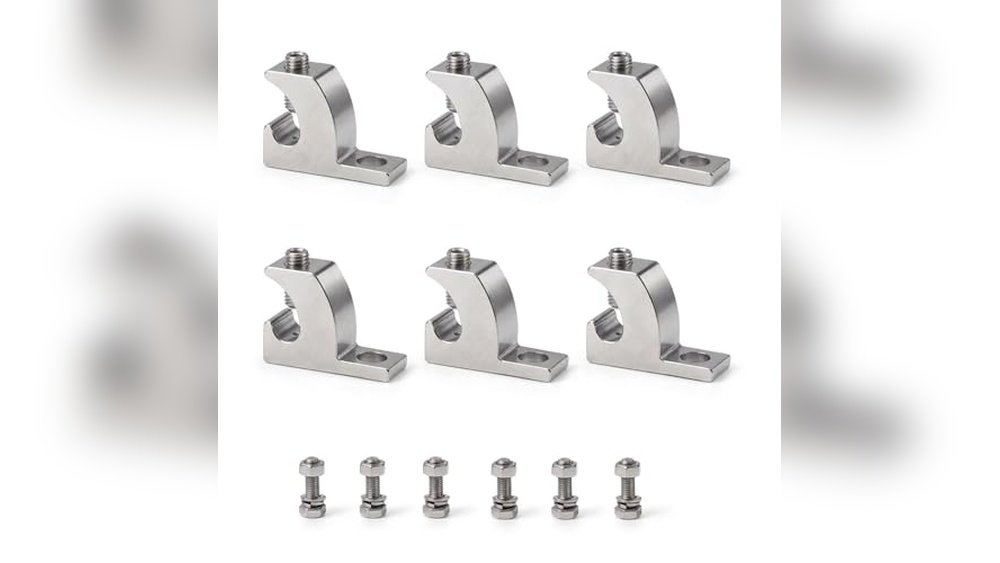
4. Roof Mounting Hardware
While not a single tool, a mounting kit includes everything you need to secure your panels safely. These kits often come with rails, clamps, and brackets tailored to your specific panel type.

Why you need it: Secure panels to your roof without leaks.
Options: Rail-based or flush mounts, depending on roof type.
5. Socket Wrench Set

Why you need it: Tightens bolts and racking system components.
Pro tip: A cordless impact wrench speeds up installation.
You can read: What is the Best Direction and Angle for Solar Panels?
6. Wire Strippers
Stripping insulation from wires is a common task in solar installations. A cable stripper ensures clean, precise stripping without damaging the copper core.

Why you need it: Strips insulation without damaging conductors.
Best pick: Self-adjusting strippers for different wire gauges.
7. Conduit Bender

What it does: Shapes electrical conduit for clean, safe wiring runs.
Why It’s Essential: Helps you meet code requirements and protect your wires from the elements.
8. Solar Panel Lifter (Optional but Helpful)

Why you need it: Safely lifts heavy panels onto the roof.
Alternative: Use a pulley system with a helper.
9. Insulated Gloves & Safety Glasses


Why you need it: Protects against electrical shocks and debris.
10. Ladder & Fall Protection Gear


Why you need it: Essential for rooftop safety. OSHA recommends harnesses for high work.
Bonus Tools

Collecting a few more gadgets/tools can ensure creativity and complete safety:
Drill Driver


Mounting solar panels requires drilling holes into surfaces like roofs or ground mounts. A drill driver makes this task effortless and precise.
- Why It’s Essential: Speeds up the installation process and ensures stability.
- Pro Tip: Use a cordless drill with adjustable torque settings for versatility.
Torque Wrench
When tightening bolts on solar panel mounts, precision is key. A torque wrench ensures bolts are tightened to the manufacturer’s specifications, preventing damage or loosening over time.

- Why It’s Essential: Avoids over-tightening or under-tightening, which can compromise structural integrity.
Level
A level is critical for ensuring your solar panels are mounted evenly. Uneven panels not only look unprofessional but can also affect performance by altering the angle of sunlight absorption.

- Why It’s Essential: Maximizes energy production and enhances aesthetics.
Screwdriver Set
From mounting brackets to attaching inverters, a versatile screwdriver set is a must-have for any DIY solar installer.

- Why It’s Essential: Handles various fastening tasks with ease.
- Pro Tip : Consider a magnetic screwdriver set to prevent screws from falling during installation.
Silicone Sealant Gun
Sealing gaps around roof penetrations is vital to prevent leaks. A silicone sealant gun allows you to apply waterproof sealant smoothly and evenly.

- Why It’s Essential: Protects your roof and extends the lifespan of your installation.
Budget vs. Premium Tools: Which Should You Choose?
Check out the table below to get an idea of which one you should choose and the best tool based on its capabilities:
| Tool | Budget Option | Premium Option |
| MC4 Crimper | Basic manual tool | Auto-adjusting crimper |
| Multimeter | Entry-level model | Fluke professional |
| Wire Cutters | Standard cutters | Self-adjusting strippers |
Budget vs Premium Options
Depending on your budget and project scope, here are some recommendations:
Budget Picks:
- MC4 Crimper: IWISS Solar Crimping Tool Kit
- Multimeter: AstroAI Digital Multimeter
- Wire Cutter: Capri Tools CP20012
Premium Picks:
- MC4 Crimper: Rennsteig Solar Crimp Tool
- Multimeter: Fluke 117 True RMS Multimeter
- Wire Cutter: Klein Tools 11055 Wire Stripper
When to go budget: If you’re doing a one-time project.
When to invest in premium: If you plan multiple installations or need durability.
Where to Buy These Tools
Most tools are available on:
- Amazon (affiliate links for best deals).
- Home Depot / Lowe’s (for in-store purchases).
- Specialty solar retailers (for industry-grade tools).
Where to Buy (Amazon Affiliate Links)
Ready to stock up on these essential tools? All the tools listed below are available on Amazon. Here are some affiliate links to make your shopping easy:
- MC4 Crimper – Perfect for creating secure connections.
- Digital Multimeter – Accurate readings every time.
- Solar Wire Cutter – Designed for thick solar cables.
- Cordless Drill Driver – Versatile and powerful.
- Torque Wrench – Ensures proper bolt tightening.
Note: All links are affiliate links, meaning we may earn a small commission at no extra cost to you if you make a purchase.
⚠️ Safety Tips
Before starting your solar panel installation, keep these safety tips in mind:
- Always turn off the main power supply before working on electrical components.
- Wear protective gear, including gloves and safety glasses.
- Work with a partner to handle heavy panels safely.
- Follow manufacturer guidelines for all tools and equipment.
Related Post: How to Install Solar Panels on the Roof (Step-by-Step Guide).
Final Thoughts,
Equipping with the right tools for DIY solar panel installation is the first step toward a successful and sustainable energy project. From MC4 crimpers to torque wrenches, each tool plays a vital role in ensuring your system is safe, efficient, and durable. Whether you’re on a high budget or willing to invest in premium options, there’s a solution for every DIY enthusiast.
➡️ Have questions or want more solar tips? Join our newsletter or drop a comment below!
Disclaimer: Always consult local building codes and regulations before starting a solar panel installation project.