In this step-by-step guide, I’ll tell you how to install solar panels on roof safely and efficiently. Whether you’re a seasoned DIYer or a beginner, this guide ensures a smooth installation process.
🏡 Harness the Power of the Sun & Slash Your Energy Bills!
Switching to solar energy is a smart, eco-friendly way to reduce electricity costs and increase your home’s sustainability. While hiring a professional is an option, a DIY solar panel installation can save you thousands of dollars.
You can read: How Many Solar Panels Do I Need for My Home? (Step-by-Step Guide).
Tools & Materials You’ll Need
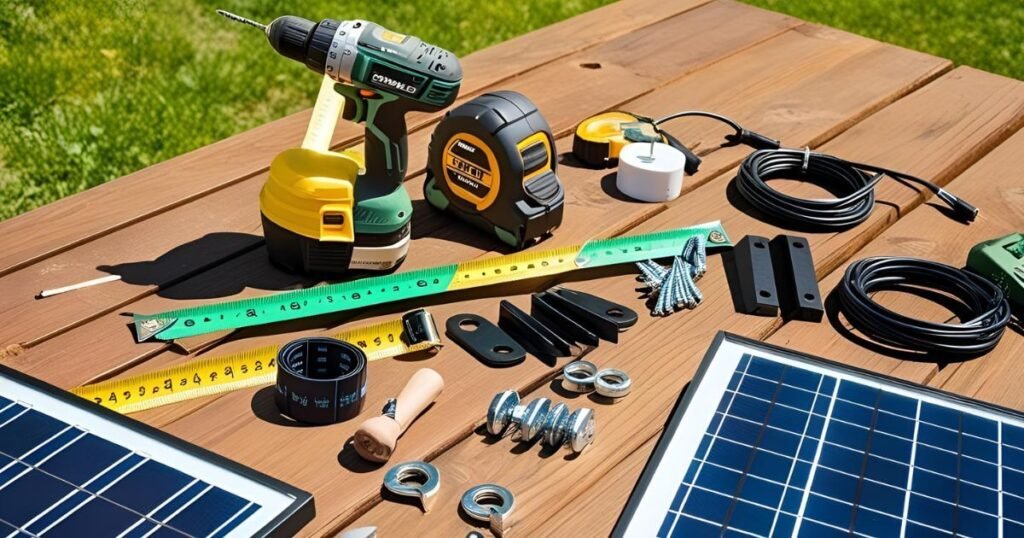
Before sharing the installation process, gather all the necessary tools and materials. Having everything ready will make the process smoother and safer.
Essential Tools:
- Drill and screwdriver set
- Ladder and safety harness
- Measuring tape
- Level
- Wire strippers and cutters
- Crimping tool
- Multimeter (to test electrical connections)
Materials:
- Solar panels
- Mounting brackets and rails
- Inverter (string inverter or microinverters)
- Electrical wiring and connectors
- Grounding equipment
- Flashing kits (to prevent roof leaks)
⚠️ Safety Precautions
Your safety comes first. Installing solar panels on your roof means working at height and with electrical systems. Here are a few safety basics:
- Always wear a safety harness and helmet.
- Avoid working in wet or windy conditions.
- Use a ladder stabilizer and secure it properly.
- Turn off the power during electrical connections.
- Have someone assist you; never work alone on the roof.
💡 Pro Tip: Check local building codes and permit requirements before starting. Some areas require a certified electrician for final connections.
Read also: What is the Best Direction and Angle for Solar Panels?
How to Install Solar Panels on Roof
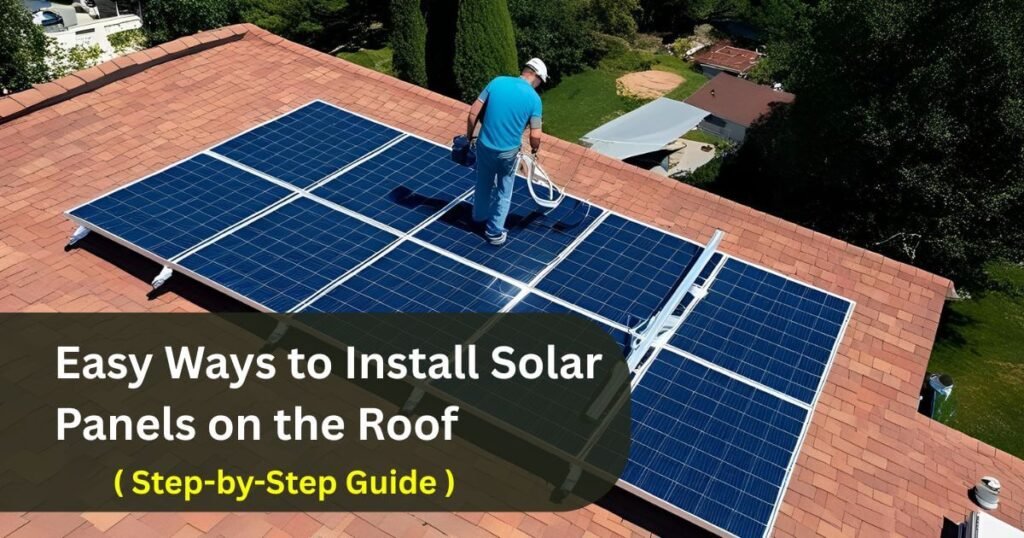
Ready to roll up your sleeves? Here’s a simple, step-by-step guide on how to install solar panels on the roof from mounting to wiring to powering up your home.
📍 Step 1: Mounting the Panels
- Survey Your Roof
Choose a spot with maximum sunlight exposure, ideally a south-facing roof slope with little to no shading. - Mark the Layout
Plan where each panel will go. Use chalk lines to outline the positions. - Install Mounting Brackets
Drill into the roof rafters to anchor the brackets securely. Use flashing and sealant to prevent leaks. - Attach Mounting Rails
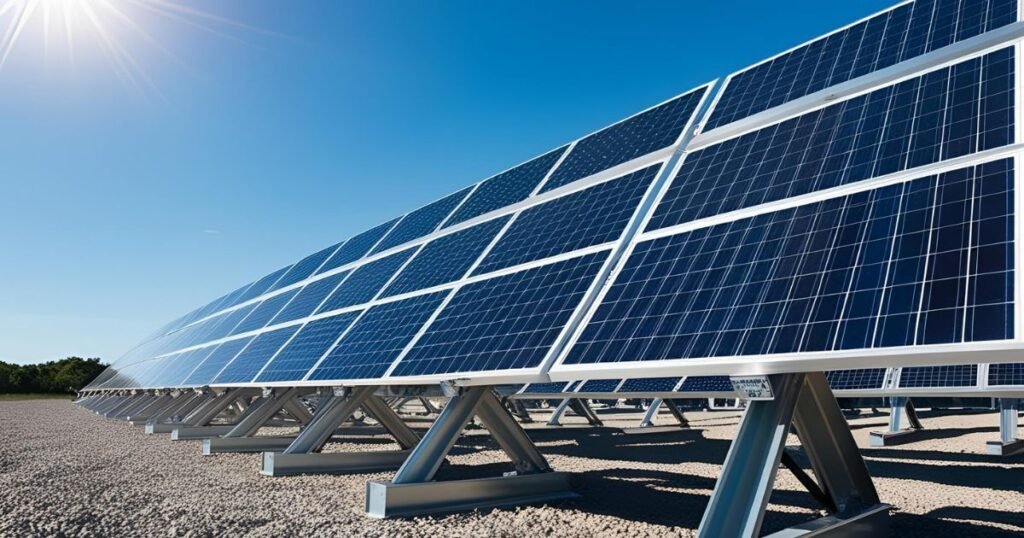
Fix horizontal rails to the brackets and ensure they’re level. - Secure the Panels
Place each solar panel onto the rails and fasten them using the provided clamps.
🔌 Step 2: Wiring the System
- Connect Solar Panel Wires
Link the panels in series (for higher voltage) or parallel (for higher current) using MC4 connectors. - Install a Junction Box
Route the wires into a weatherproof junction box. This keeps the system organized and safe from the elements. - Run Wires to the Inverter
Use a conduit to route the wiring from the roof to the inverter location, typically in your garage or utility room.
⚡ Step 3: Connecting to the Inverter
- Install the Inverter
Mount the inverter on a wall near your electrical panel or battery system. - Connect Solar Input
Link the positive and negative wires from the panels to the inverter’s DC input. - Connect to Home Electrical System
Run wires from the inverter’s AC output to your home’s breaker box, this step should be inspected or handled by a licensed electrician. - Test the System
Use a multimeter to check voltage and current. Power on the inverter and monitor performance via its built-in display or mobile app.
Maintenance Tips for Longevity
Proper maintenance ensures your solar panel system operates efficiently for years to come.
- Clean Regularly: Remove dust, leaves, and debris from the panels using a soft brush or hose. Avoid abrasive cleaners.
- Inspect for Damage: Check for cracks, loose wires, or corrosion annually.
- Monitor Performance: Use a monitoring app or device to track energy production and detect issues early.
- Trim Nearby Trees: Keep branches away from shading the panels.
FAQs for DIY Installers
Q1: Can I install solar panels myself?
Yes, but it requires technical skills and careful planning. If you’re unsure about electrical work, consult a professional.
Q2: How long does it take to install solar panels?
A typical residential installation takes 1-3 days, depending on the system size and complexity.
And more:
Q: How much can I save by doing it myself?
A: DIY installations can save you 30–50% on labor costs, depending on system size and complexity.
Q: What if my roof isn’t ideal for solar?
A: You can explore ground-mounted systems or solar carports as alternatives.
Q: Do I need to go off-grid?
A: Not necessarily. Most DIYers connect their systems to the grid and use net metering for savings.
Q: Is DIY solar legal in my state?
A: It varies. Some states require licensed electricians for certain parts. Always check your state’s solar regulations.
Related Post: Off-Grid vs On-Grid Solar Systems: What’s the Difference?
✅ Final Thoughts
Installing solar panels yourself can be a rewarding and cost-effective project, but only if you do it right. Now that you know how to install solar panels on the roof step by step, you’re one step closer to harnessing the sun’s power and reducing your utility bills for years to come.
💬 Ready to take control of your energy future? Share this guide with your DIY crew, pin it for later, and start planning your solar setup today!


