
That feeling of hitting the open road, with nowhere to be but everywhere to go—it’s the heart of van life. But true freedom means being self-sufficient, and that starts with power. Your solar setup is the beating heart of your mobile home, keeping your lights on, phone charged, and fridge cold long after you’ve left the campground behind.
For newcomers, the world of solar can feel overwhelming. Watts, amps, controllers, inverters… It’s enough to make you want to stick with a cooler full of ice.
Don’t worry! Choosing the right van solar kit is simpler than it looks. This guide will walk you through everything you need to know, helping you select the perfect system to power your adventures.
Solar Components Explained
Think of your solar system like your body’s circulatory system. Each part has a distinct and vital job to do to keep things running. So complete van solar kit typically includes four major components.
Solar Panels: The Collectors
These capture sunlight and convert it into electricity. For vans, flexible or rigid panels are common—rigid ones offer better efficiency and durability, while flexible ones are easier to mount and blend into your roofline.
Wattage tip:
A single 100W panel might charge your phone, but running a fridge or lights overnight will likely require 200–400W or more.
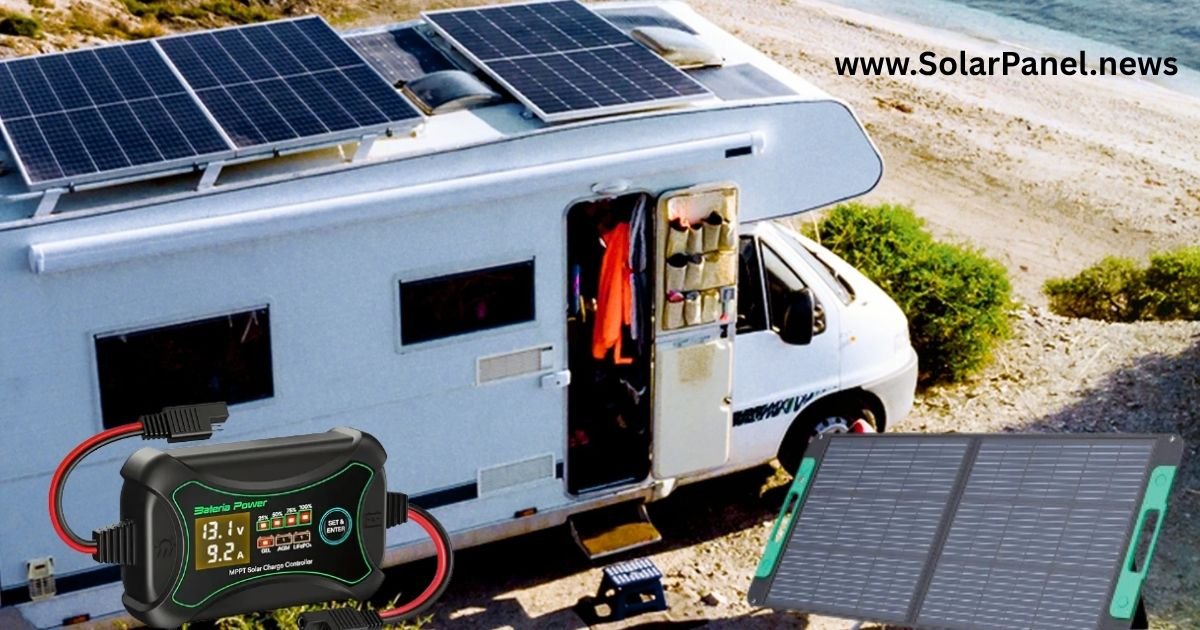
Charge Controller: The Brain
This device regulates the power going from the panels to your battery. Without it, you risk overcharging and damaging the system. There are two main types:
- PWM (Pulse Width Modulation): Budget-friendly, but less efficient.
- MPPT (Maximum Power Point Tracking): More expensive, but up to 30% more efficient—especially in shady or cloudy conditions.
Battery: The Power Bank
Solar energy needs somewhere to go—this is it. Most van lifers opt for lithium iron phosphate (LiFePO₄) batteries. They’re lighter, last longer, and charge faster than old-school lead-acid ones.
Quick rule: 100Ah of lithium battery capacity generally supports a minimalist van setup with lighting, small fan, and basic device charging.
Inverter: The Translator
The power stored in your battery is 12V DC, which is great for USB ports and specialized RV appliances. But what about your laptop, camera charger, or blender? Those run on 120V AC (Alternating Current), the same as the outlets in your house. An inverter is the magic box that “translates” DC power from your battery into AC power, so you can use your everyday electronics on the road.

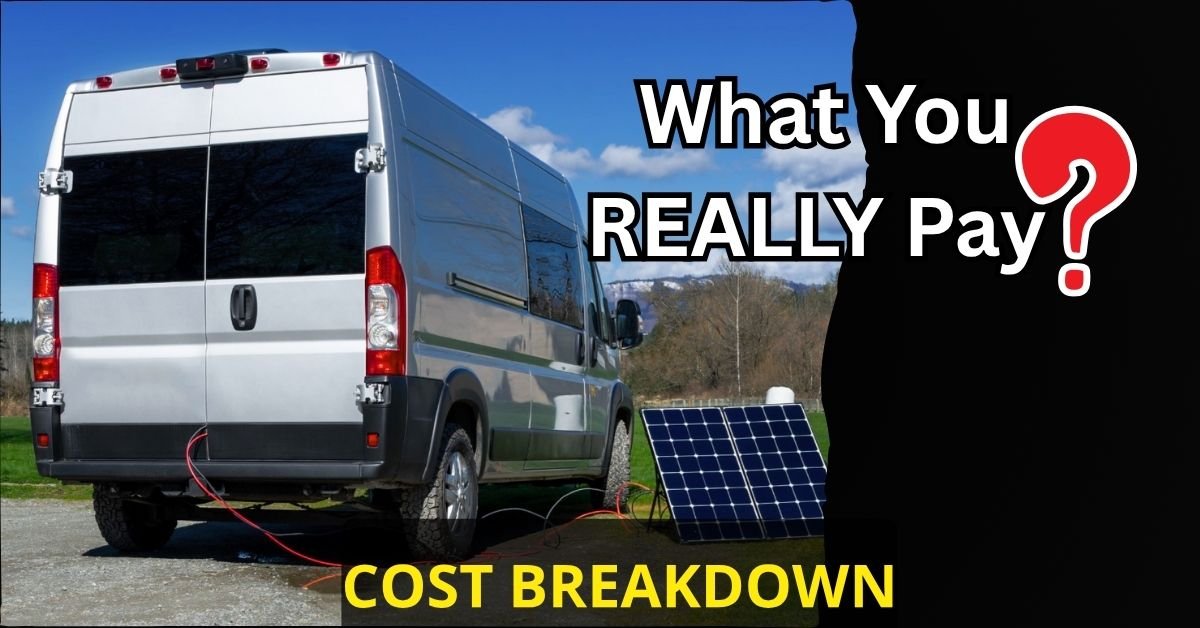
Match Kit Size to Your Van Layout
The biggest mistake beginners make is buying a kit that’s either too small (leaving them powerless) or way too big (wasting money and roof space). The right size for you depends entirely on your power needs and your van’s physical limitations.
Start by doing a quick “energy audit.” Ask yourself: What do I absolutely need to power?
Make a list. It might look something like this:
- LED Lights
- Maxxair Fan
- Phone & Tablet Charging
- Laptop Charging
- 12V Fridge/Cooler
- Water Pump
Once you know what you’ll be running, you can estimate your needs:
- The Weekend Warrior: If you’re mostly taking short trips and just need to keep lights, a fan, and phones running, a smaller 100W-200W kit is often perfect. It’s simple, affordable, and doesn’t take up much precious roof space.
- The Part-Time Adventurer: Working from the road occasionally? Running a 12V fridge? You’ll need more juice. Look at kits in the 200W-400W range paired with a solid battery to keep you powered for several days of cloudy weather.
- The Full-Time Digital Nomad: If your van is your home and office, you can’t afford to run out of power. You’ll likely want 400W or more of solar, a large lithium battery bank, and a powerful inverter to run everything from your laptop to a coffee maker without worry.
Remember to get out a tape measure! The roof of a Ford Transit Connect has a lot less real estate than a 170″ Mercedes Sprinter. Plan your layout to ensure your panels, fan, and any other roof-mounted gear will fit.
If you’re new to the subject and still don’t understand anything, you might want to consider these recommended kits (below):
Small Vans (e.g., Ford Transit Connect, Nissan NV200)
- Suggested Setup: 100–200W solar, 50–100Ah battery
- Ideal for: weekend trips, minimal power usage (lights, phone, fan)
Mid-Sized Vans (e.g., Ram Promaster City, Chevy Express)
- Suggested Setup: 200–300W solar, 100–200Ah battery
- Great for: part-time van lifers using laptops, coolers, occasional TV
Full-Sized Vans (e.g., Mercedes Sprinter, Ford Transit Extended)
- Suggested Setup: 400–600W solar, 200–400Ah battery
- Perfect for: full-time off-grid living with fridge, water pump, and high-demand devices
“I started with 200W and kept hitting power limits,” says Alicia, a full-time van traveler. “Upgrading to 400W plus a Jackery system was a game changer.”
Recommended Kits for Beginners
If you don’t want to piece together individual parts, these all-in-one beginner-friendly van solar kits are highly rated, easy to install, and reliable for life on the road.
🟩 Jackery Solar Generator 1000 Plus with 200W Solar Panel

- Powerful yet Compact: Boasting a 1,500W AC output and a 3,000W surge peak, the Solar Generator 1000 V2 can power multipl…
- One Hour Fast Charging: Charge your Explorer 1000 v2 Portable Power Station from 0% to 100% battery level in just one ho…
- 10 Year Lifespan: The Explorer 1000 v2 portable power station is equipped with a durable LFP battery, maintaining over 7…
Key Specs:
- 2042Wh LiFePO₄ battery
- 200W foldable solar panel included
- MPPT controller built-in
- 2 AC outlets, 2 USB-A, 2 USB-C, 1 car port
- Expandable with extra batteries
- Weight: 32 lbs
Pros:
✔ Plug-and-play simplicity
✔ Fast solar recharging
✔ Whisper-quiet operation
✔ Compact for small spaces
Cons:
✘ Pricey compared to DIY kits
✘ Limited output for high-wattage tools
User Review:
“I’ve run my fridge, fan, and charged two laptops with the Jackery 1000—no issues for 4-day trips.” — Verified Amazon Customer Says
Best For: Short to mid-length van trips, users wanting zero wiring stress
Rating: 4.8 stars (2,500+ reviews)
Warranty: 3 years standard + 2-year extension via registration
Certifications: UL-listed, FCC, UN38.3 certified
🟦 Goal Zero Nomad + Yeti 500X Kit

- Power. Anything. Anywhere. This power station’s 497 Watt Hours pack a punch. Complete your overlanding rig or prep for e…
- 7 Versatile Ports, 497 Wh Capacity: Power phones, WiFi routers, pellet grills and more with the Yeti 500X, which keeps d…
- Durable Construction, Safe Electric & Solar Power: With a heavy-duty anodized aluminum enclosure and tier 1 lithium batt…
Key Specs:
- 505Wh battery (Yeti 500X)
- 100W Nomad solar panel
- Integrated charge controller
- Multiple AC + USB outputs
- Compact, ultra-portable design
Pros:
✔ Lightweight and ultra-compact
✔ Very quiet and efficient
✔ Ideal for solo or minimalists
Cons:
✘ Smaller capacity—not ideal for fridges
✘ Slower charging in cloudy weather
User Says:
A Verified User Says“Perfect for weekend escapes—keeps my phone, headlamp, and camera charged.” — Amazon Reviewer
Best For: Minimal setups, solo travelers, digital nomads with light power needs
Rating: 4.5 stars (1,200+ reviews)
Warranty: 2 years
Certifications: CE, FCC, RoHS compliant
Installation Quick‑Start Tips
If you do opt for a traditional, roof-mounted kit, here are a few tips to make the process smoother:
- Safety First, Always: Before you touch a single wire, make sure everything is disconnected. Batteries can hold a serious charge, so work carefully.
- Plan Your Wire Route: Figure out the cleanest path for your wires to run from the roof to your charge controller and batteries before you drill any holes. Use waterproof cable glands to seal any entry points on your roof.
- Mount Panels Securely: Your van will be buffeted by 70 mph winds on the highway. Use high-quality mounting brackets, bolts, and a strong adhesive sealant like Sikaflex-252. Don’t cut corners here.
- Test As You Go: Connect the panels to the charge controller and check that it’s receiving power before you connect it to the battery. Testing each connection step-by-step saves headaches later.
💡 If you’re using a portable kit like Jackery or Goal Zero, just unfold the panel, plug it in, and go—no wiring required.
Checklist Before You Buy
Before you hit “Buy Now,” go through this checklist to make sure your van solar kit is truly the right fit:
- ✔ Calculate Your Daily Power Needs: Have you listed all your essential devices?
- ✔ Measure Your Available Roof Space: Do you know exactly how many panels will fit?
- ✔ Decide on Kit Type: Are you going for a simple all-in-one solar generator or a customizable component kit?
- ✔ Set a Realistic Budget: Have you accounted for the kit, wiring, mounts, sealant, and tools?
- ✔ Check Panel Type: Do you need rigid panels for a permanent install or foldable panels for portability?
- ✔ Verify Component Compatibility: If buying parts separately, double-check that your charge controller matches your panel voltage and battery type. This is the #1 reason beginner kits are so helpful—they guarantee compatibility.
Comparison Table: Beginner Van Solar Kits
| Product Name | Battery Capacity | Solar Panel Size | Inverter Ports | Best For | IP Rating / Certs | Warranty |
| Jackery 1000 Plus Kit | 2042Wh LiFePO₄ | 200W (foldable) | 2 AC, USB-A/C, 12V DC | Full-time or power users | UL, FCC, UN38.3 | 3–5 years |
| Goal Zero Yeti 500X + Nomad | 505Wh | 100W (foldable) | AC, USB-A/C, 12V DC | Weekend or minimalist users | CE, FCC, RoHS | 2 years |
Conclusion,
Choosing the right van solar kit isn’t about buying the biggest setup—it’s about buying smart for your lifestyle. Understand the components, know your energy needs, and find a kit that matches your space and trip style.
When you’re ready, beginner-friendly solar bundles like Jackery or Goal Zero take the guesswork out of setup, so you can get on the road with confidence.Ready to power your next escape?
Check out beginner kits on Amazon and start your van life journey right.