Have you ever wished your motorhome could power up anywhere—no hookups, no noisy generators, just freedom? Maybe you’ve tried using battery power only to run out halfway through your trip. Or you’ve looked at solar kits online and thought, “This looks complicated… where do I even start?
” You’re not alone. Installing solar panels on a motorhome can feel overwhelming, but the truth is, you don’t need to be an electrician to make it work. With the right guidance, you can enjoy reliable power, save money, and travel off-grid with confidence.
Let’s break down exactly how to install solar panels on a motorhome—step by step, with simple words and real-world tips you won’t find in most guides.
Short Answer: How Do You Install Solar Panels On A Motorhome?
To install solar panels on your motorhome, you need to:
- Choose the right solar panel system for your needs and roof size.
- Mount the panels securely on the roof.
- Connect the wiring to a charge controller and your battery bank.
- Test the system to make sure everything works safely.
You don’t need expensive tools or special skills. Most people can do this in a weekend with basic DIY abilities. Now, let’s go deeper so you can do it right the first time.
Why Go Solar On Your Motorhome?
Think about running your fridge, lights, fans, and charging devices—all without relying on campgrounds or plugging in. Solar panels give you:
- Quiet, clean energy—no fuel, fumes, or noise.
- Freedom to camp anywhere—even in remote spots.
- Long-term savings—no paying for hookups or replacing batteries as often.
Did you know: a typical motorhome solar setup can save you up to $400 a year in campground fees and generator fuel? And with prices dropping, a basic solar kit now costs less than a new smartphone.
Planning Your Motorhome Solar System
Before you buy anything, you need to know what kind of solar setup fits your needs. Here’s how to plan:
Estimate Your Power Needs
List all the devices you want to run. Add up their watts and estimate how many hours you’ll use each per day.
Example:
- LED lights: 20 watts x 4 hours = 80 watt-hours
- Laptop: 50 watts x 3 hours = 150 watt-hours
- Fridge: 60 watts x 10 hours = 600 watt-hours
Total: 830 Watt-hours/day
Most motorhome owners use between 800 and 2,000 watt-hours daily. If you want to run air conditioning or cook with electric appliances, you’ll need more.
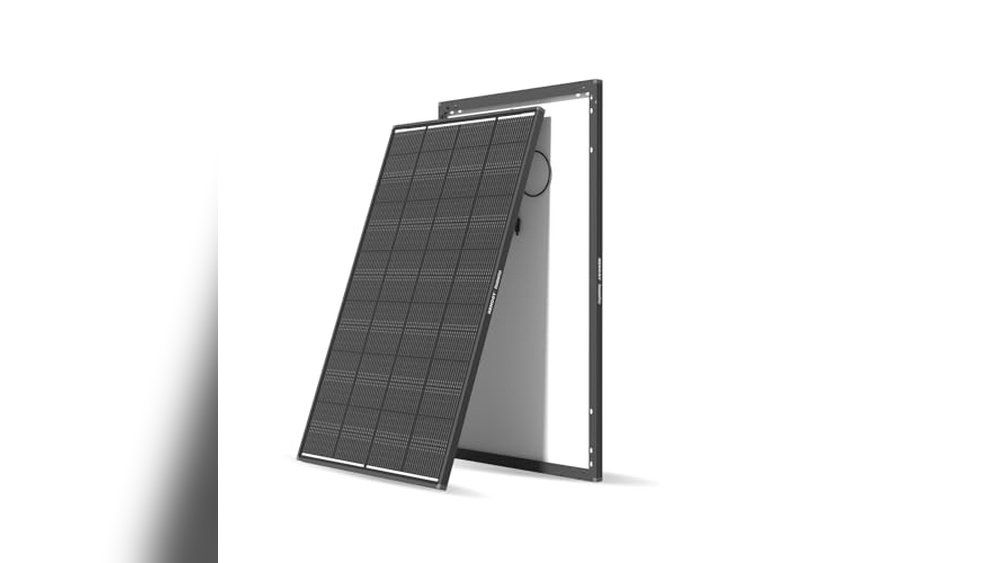
Choose Your Solar Panel Type
There are three main types:
- Monocrystalline: Most efficient, works well in limited space.
- Polycrystalline: Cheaper, but slightly less efficient.
- Flexible panels: Lightweight, can curve to fit your roof.
Here’s a quick comparison:
| Panel Type | Efficiency (%) | Weight (lbs) | Cost (per 100W) |
|---|---|---|---|
| Monocrystalline | 18–22 | 15 | $110–$150 |
| Polycrystalline | 16–18 | 15 | $90–$120 |
| Flexible | 14–17 | 4 | $120–$180 |
Most people choose monocrystalline for better performance and durability.
How Many Panels Do You Need?
Divide your daily watt-hours by the number of sun hours you expect (usually 4–6 hours/day for most places). If you need 830 watt-hours and get 5 hours of sun:
830 ÷ 5 = 166 Watts
So, you’d need about 2 x 100W panels (most panels are 100–200 watts each). Always round up for cloudy days and battery losses.
Other Key Components
You’ll also need:
- Charge controller (protects batteries from overcharging)
- Inverter (converts DC to AC for household plugs)
- Wiring and connectors (usually included in kits)
- Battery bank (deep-cycle batteries store your power)
Here’s a basic setup for most motorhomes:
| Component | Typical Size | Estimated Cost |
|---|---|---|
| Solar panels | 200–400 watts | $200–$600 |
| Charge controller | 20–40 amps | $50–$150 |
| Inverter | 1000–2000 watts | $100–$300 |
| Batteries | 2–4 x 100Ah | $200–$800 |
Tip: Always buy a kit with UL-listed parts for safety.
What Tools And Materials Do You Need?
You don’t need high-tech equipment. Most solar kits include the main parts, but you’ll want:
- Drill with bits
- Screwdriver set
- Wire stripper and crimper
- Sealant (for waterproofing holes)
- Wrench or socket set
- Ladder
Some kits come with mounting brackets and all wiring. Double-check before buying.

Credit: sunworks.co.uk
Step-by-step Guide: Installing Solar Panels On Your Motorhome
Let’s get practical. Here’s how to install solar panels on your motorhome, even if you’ve never done it before.
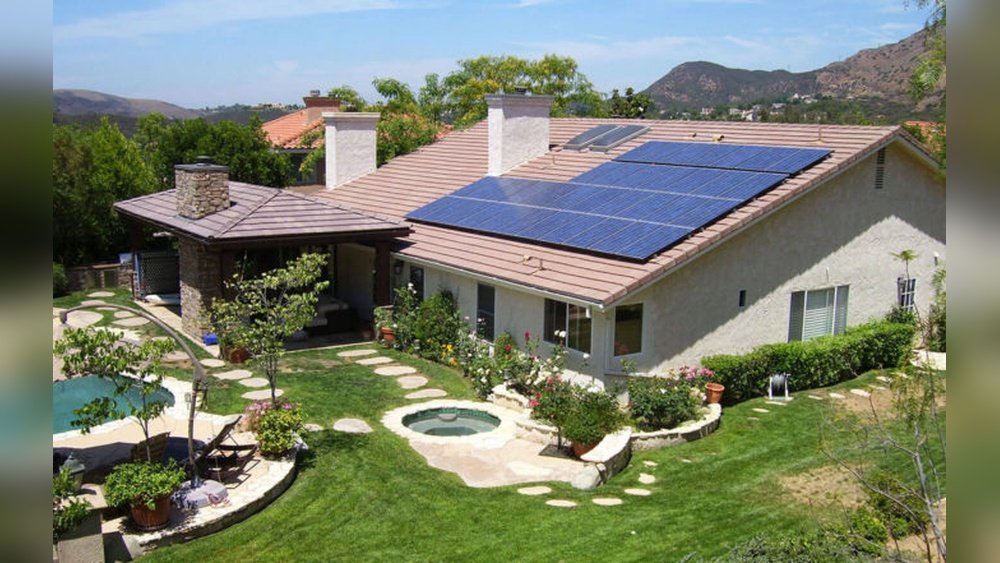
1. Check Your Roof And Plan Placement
Look at your motorhome roof. Is there space for the panels? Avoid vents, skylights, and antennas. Clean the area well.
Tip: Panels should face south for best sun, but on a moving motorhome, just avoid shade and keep panels flat for safety.
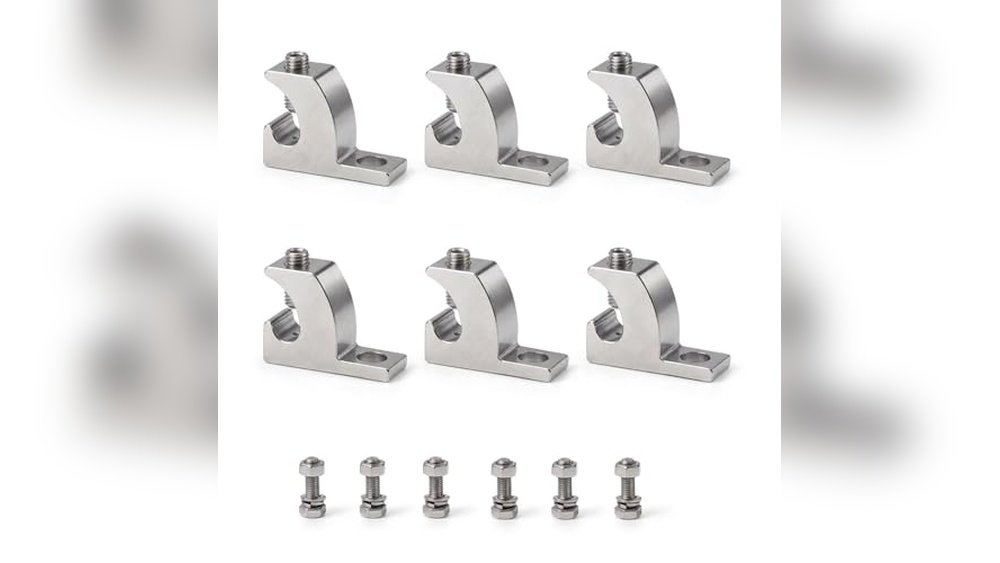
2. Attach Mounting Brackets
Most panels use Z-brackets or tilt mounts. Mark where you’ll drill, then attach brackets to the panel frame.
- Use stainless steel bolts for strength
- Check alignment carefully before drilling
3. Secure Panels To The Roof
Lift panels onto the roof. Drill holes where brackets line up. Add sealant to each hole to prevent leaks.
- Tighten bolts firmly, but don’t over-tighten
- Flexible panels can be glued with industrial adhesive
4. Run Wiring Into The Motorhome
Find a safe entry point for wires—often near fridge vents or cable hookups. Drill a small hole, add a rubber grommet, and seal it.
- Run wires down to your electrical bay or battery area
- Use wire clips to keep cables tidy
5. Connect Charge Controller
Mount the charge controller inside the motorhome, close to batteries. Connect solar panel wires to the controller, then to the battery bank.
- Always follow color coding (red = positive, black = negative)
- Use a fuse between controller and battery for safety
6. Connect Inverter (optional)
If you want to run household devices (AC power), connect an inverter to your battery bank.
- Keep inverter close to batteries for best performance
- Use thick cables (minimum 4 AWG) for high-power devices
7. Test Your System
Check all connections. Turn on the charge controller—should show incoming solar power. Test lights, plugs, and appliances.
- If something doesn’t work, check fuse and wire connections
- Monitor battery voltage for a few days to ensure proper charging
Practical Tips For A Trouble-free Installation
Most guides skip these, but they can save you hours:
- Label every wire before you close up panels—future you will thank you.
- Use marine-grade sealant to prevent roof leaks.
- Avoid mixing panel types—they can have different voltages.
- Check solar panel tilt—flat is safest while driving, but tilting increases power when parked.
- If you’re unsure, watch a few YouTube installation videos for visual learning.
Common Mistakes To Avoid
- Underestimating power needs—don’t guess, calculate.
- Poor weatherproofing—leaks are expensive to fix.
- Loose connections—can cause fires or system failure.
- Using thin cables—thick wires prevent power loss.
- Skipping the fuse—always use a fuse for safety.
Non-obvious insight: If your motorhome is older, check for roof rot before mounting panels. Hidden damage can cause panels to fall off or leaks to form.
How Much Does Motorhome Solar Installation Cost?
Prices vary, but here’s a typical breakdown:
- DIY install: $700–$1,500 (depends on panel size, battery type)
- Professional install: $1,500–$3,500 (labor adds cost)
Battery choice makes a big difference. Lithium batteries cost more but last 3–5 times longer and weigh half as much as lead-acid.
Here’s a quick battery comparison:
| Battery Type | Weight (100Ah) | Cycle Life | Cost |
|---|---|---|---|
| Lead-Acid | 60 lbs | 300–500 cycles | $200–$300 |
| Lithium | 25 lbs | 2,000–5,000 cycles | $600–$900 |
Tip: Investing in lithium pays off over time, especially if you camp often.

Credit: www.sandiegorvcenter.com
Safety Considerations
Solar systems are safe, but only if you follow a few rules:
- Always disconnect batteries before working on wires.
- Use fuses and circuit breakers to prevent shorts.
- Wear gloves and eye protection when drilling or wiring.
- Don’t mount panels where they could block emergency roof exits.
If you’re unsure about electrical work, ask a professional to review your setup.
Real-world Example: Installing Solar On A Class C Motorhome
Let’s see how this works in real life.
Samantha and Mark own a 24-foot Class C motorhome. They wanted to power:
- Lights, fridge, water pump, phone chargers, TV
They calculated they needed about 1,200 watt-hours/day. They bought:
- 2 x 200W monocrystalline panels
- 30A MPPT charge controller
- 2 x 100Ah lithium batteries
- 1,500W pure sine wave inverter
They followed the installation steps above. The entire process took 6 hours (with breaks). Their first night off-grid, everything worked. They noticed their batteries charged fully by noon, even on a cloudy day. Over three months, they saved $300 in campground fees and never ran out of power.
Upgrading Or Expanding Your Solar System
If your needs grow (like adding an electric cooktop), you can expand:
- Add more panels—just check your charge controller can handle extra amps.
- Upgrade battery bank—lithium is best if you can afford it.
- Swap to an MPPT controller—these are more efficient than PWM types, especially in winter.
Tip: Plan for extra capacity now, so you don’t have to redo wiring later.
Environmental Benefits
Motorhome solar isn’t just about saving money. It reduces your carbon footprint and keeps campsites quiet and clean. A single 200W panel saves about 0.7 tons of CO2 over five years compared to running a gasoline generator.
Diy Vs Professional Installation
Most people can do this themselves. But if you want a sleek, custom install or you’re nervous about electrical work, hire a pro. Professionals can:
- Hide wires inside walls
- Install larger battery banks safely
- Add monitoring systems for easy tracking
DIY saves money and gives you control. Just follow every safety step.
Maintenance And Troubleshooting
Solar systems need very little care:
- Clean panels every few months with soap and water.
- Check wire connections yearly.
- Monitor battery health—replace if voltage drops quickly.
If your panels aren’t charging:
- Check for shade or dirt buildup.
- Inspect fuses and controller settings.
- Look for loose wires.
Non-obvious insight: Even a small crack in a panel can cut power by 30%. Inspect panels after storms or tree branch falls.
Frequently Asked Questions
How Long Does It Take To Install Solar Panels On A Motorhome?
Most DIY installs take 4–8 hours if you have basic tools and follow instructions. Professional installs are quicker (2–4 hours) but cost more.
Can I Install Solar Panels On Any Motorhome Roof?
Yes, but check for roof condition, space, and mounting options. Flat roofs are easiest. Avoid mounting over thin or damaged areas.
What Happens If My Panels Don’t Get Enough Sunlight?
You’ll charge slower, but batteries will still fill up with partial sun. Park in the sunniest spot, avoid shade from trees, and consider portable panels for extra power.
Is It Safe To Drive With Solar Panels On The Roof?
Absolutely—if mounted securely with proper brackets and sealant. Flexible panels are lighter and less likely to catch wind, but rigid panels are more durable.
How Much Solar Power Do I Need For Full Off-grid Living?
For most motorhomes, 300–600 watts covers basic needs (lights, fridge, fans). Heavy users (air conditioning, cooking) may need 800–1200 watts and a larger battery bank.
Final Thoughts
Installing solar panels on your motorhome opens up a world of freedom. No more hunting for hookups or listening to a generator roar. You get quiet, reliable power—wherever you go. Start by sizing your system, pick quality parts, and follow each step carefully. With a little planning and some hands-on effort, you’ll enjoy the best kind of travel: simple, sustainable, and powered by the sun.
If you want even more data or official wiring guides, check out the Renogy RV Solar Panel Installation Guide—they offer detailed diagrams and safety tips.
Ready to start? Your motorhome solar journey is just a weekend away. Enjoy the adventure!

Credit: www.youtube.com